Not extruding at the start of the print
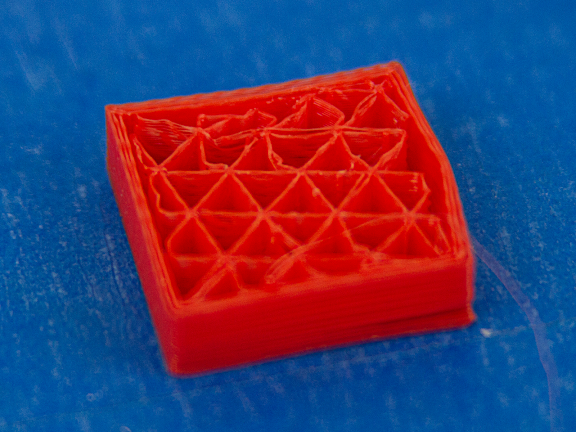
Example Image / Graphic
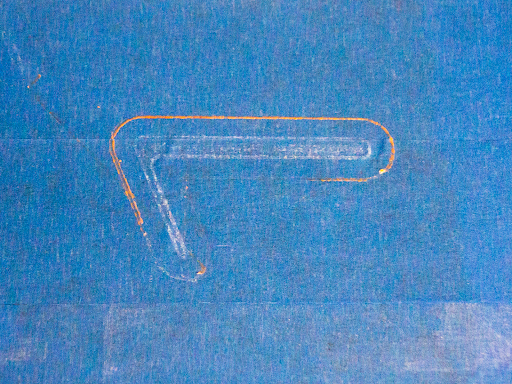
Issue Details
Print grooves left in bed with no filament and/or flaky or intermittent lines of filament on the first and subsequent layers
Cause 1
Incorrect extruder calibration/offset
Suggested Solutions 1
Prime extruder
Adjust nozzle height
Adjust first layer height
Adjust filament extrusion width
Babysteping; Z offset
Cause 2
Clogged extruder/nozzle
Suggested Solutions 2
Hobbed gear
Clear nozzle