29 |
30 |
31 |
52 |
53 |
70 |
71 |
88 |
89 |
90 |
91 | {colors.map((color, idx) => (
92 |
copyToClipboard(color)}
98 | />
99 | ))}
100 |
101 |
102 |
103 |
104 | Base color: hsl({hue}, {saturation}%, {lightness}%)
105 |
106 |
107 |
108 |
109 | )
110 | }
111 |
--------------------------------------------------------------------------------
/snippets/counter.mdx:
--------------------------------------------------------------------------------
1 | export const Counter = () => {
2 | const [count, setCount] = useState(0)
3 |
4 | const increment = () => setCount(count + 1)
5 | const decrement = () => setCount(count - 1)
6 |
7 | return (
8 |
9 |
10 |
17 |
18 |
19 | {count}
20 |
21 |
22 |
29 |
30 |
31 | )
32 | }
--------------------------------------------------------------------------------
/snippets/custom-subpath-gating.mdx:
--------------------------------------------------------------------------------
1 |
2 | **Prerequisite**: Your primary domain (company.com) is hosted on {platform}
3 | and you are on the [Pro, Growth, or Enterprise plan](https://mintlify.com/pricing).
4 |
5 |
--------------------------------------------------------------------------------
/snippets/custom-subpath-propagating.mdx:
--------------------------------------------------------------------------------
1 |
2 | After configuring your DNS, custom subdomains are usually available within a few minutes. DNS propagation can sometimes take 1-4 hours, and in rare cases up to 48 hours. If your subdomain is not immediately available, please wait before troubleshooting.
3 |
4 |
--------------------------------------------------------------------------------
/themes.mdx:
--------------------------------------------------------------------------------
1 | ---
2 | title: "Themes"
3 | description: "Customize the appearance of your documentation"
4 | icon: "paint-bucket"
5 | mode: "custom"
6 | ---
7 |
8 | export const ThemeCard = ({ title, value, description, href }) => {
9 | return (
10 |
11 |
12 |

13 |

14 |
16 |
17 |
{title}
18 |
19 |
20 |
{description}
21 |
22 |
23 | See preview
24 |
25 |
28 |
29 |
31 | );
32 | };
33 |
34 |
35 |
36 |
Themes
37 |
38 |
39 |
40 |
41 |
42 |
43 |
44 |
45 |
46 |
47 |
48 |
49 |
50 |
51 |
52 |
53 |
54 |
55 |
56 |
57 |
--------------------------------------------------------------------------------
 31 |
32 |
33 | ### Enabling the contextual menu
34 |
35 | Add the `contextual` field to your `docs.json` and specify which options you want to include in your menu.
36 |
37 | ```json
38 | {
39 | "contextual": {
40 | "options": [
41 | "copy",
42 | "view",
43 | "chatgpt",
44 | "claude"
45 | ]
46 | }
47 | }
48 | ```
49 |
50 | ## /llms.txt
51 |
52 | The [/llms.txt file](https://llmstxt.org) is an industry standard that helps general-purpose LLMs index more efficiently, similar to how a sitemap helps search engines.
53 |
54 | Every documentation site automatically hosts an `/llms.txt` file at the root that lists all available pages in your documentation. AI tools can use this file to understand your documentation structure and find relevant content to user prompts.
55 |
56 |
31 |
32 |
33 | ### Enabling the contextual menu
34 |
35 | Add the `contextual` field to your `docs.json` and specify which options you want to include in your menu.
36 |
37 | ```json
38 | {
39 | "contextual": {
40 | "options": [
41 | "copy",
42 | "view",
43 | "chatgpt",
44 | "claude"
45 | ]
46 | }
47 | }
48 | ```
49 |
50 | ## /llms.txt
51 |
52 | The [/llms.txt file](https://llmstxt.org) is an industry standard that helps general-purpose LLMs index more efficiently, similar to how a sitemap helps search engines.
53 |
54 | Every documentation site automatically hosts an `/llms.txt` file at the root that lists all available pages in your documentation. AI tools can use this file to understand your documentation structure and find relevant content to user prompts.
55 |
56 |  18 |
19 |
20 | ## Admin API key
21 |
22 | The Admin API key is used for the majority of the API. It is used to trigger updates via the [Update endpoint](/api-reference/update/trigger).
23 |
24 | ## Assistant API key
25 |
26 | The Assistant API allows you to embed the AI assistant experience grounded in your docs and continually kept up to date into any application of your choosing.
27 |
28 | Responses include citations so you can point your users to the right places they need to get help.
29 |
30 |
18 |
19 |
20 | ## Admin API key
21 |
22 | The Admin API key is used for the majority of the API. It is used to trigger updates via the [Update endpoint](/api-reference/update/trigger).
23 |
24 | ## Assistant API key
25 |
26 | The Assistant API allows you to embed the AI assistant experience grounded in your docs and continually kept up to date into any application of your choosing.
27 |
28 | Responses include citations so you can point your users to the right places they need to get help.
29 |
30 |  11 |
12 |
13 | ## Captions
14 |
15 | You can add additional context to an image using the optional `caption` prop.
16 |
17 |
18 |
11 |
12 |
13 | ## Captions
14 |
15 | You can add additional context to an image using the optional `caption` prop.
16 |
17 |
18 | 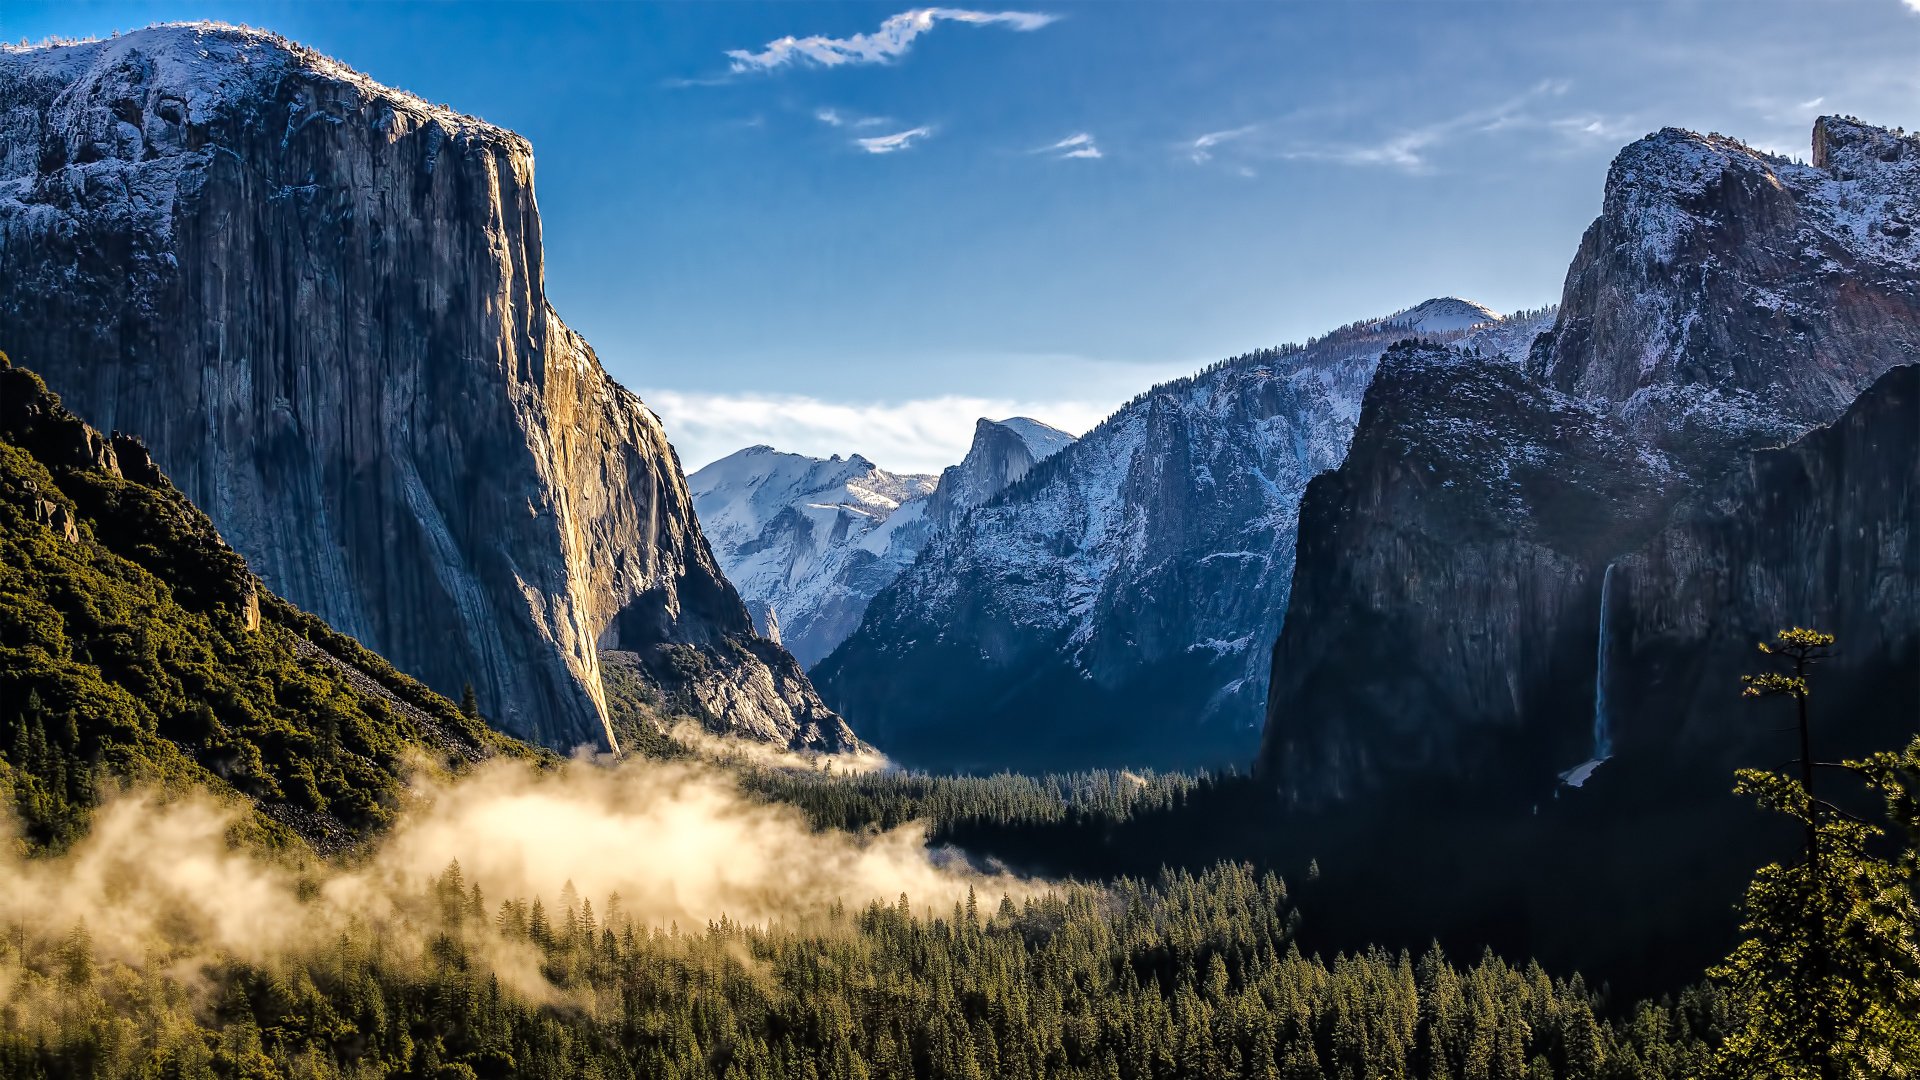 19 |
20 |
21 | ## Props
22 |
23 |
19 |
20 |
21 | ## Props
22 |
23 |  32 |
33 | ```
34 |
35 | ```mdx Frame with Captions
36 |
37 |
32 |
33 | ```
34 |
35 | ```mdx Frame with Captions
36 |
37 | 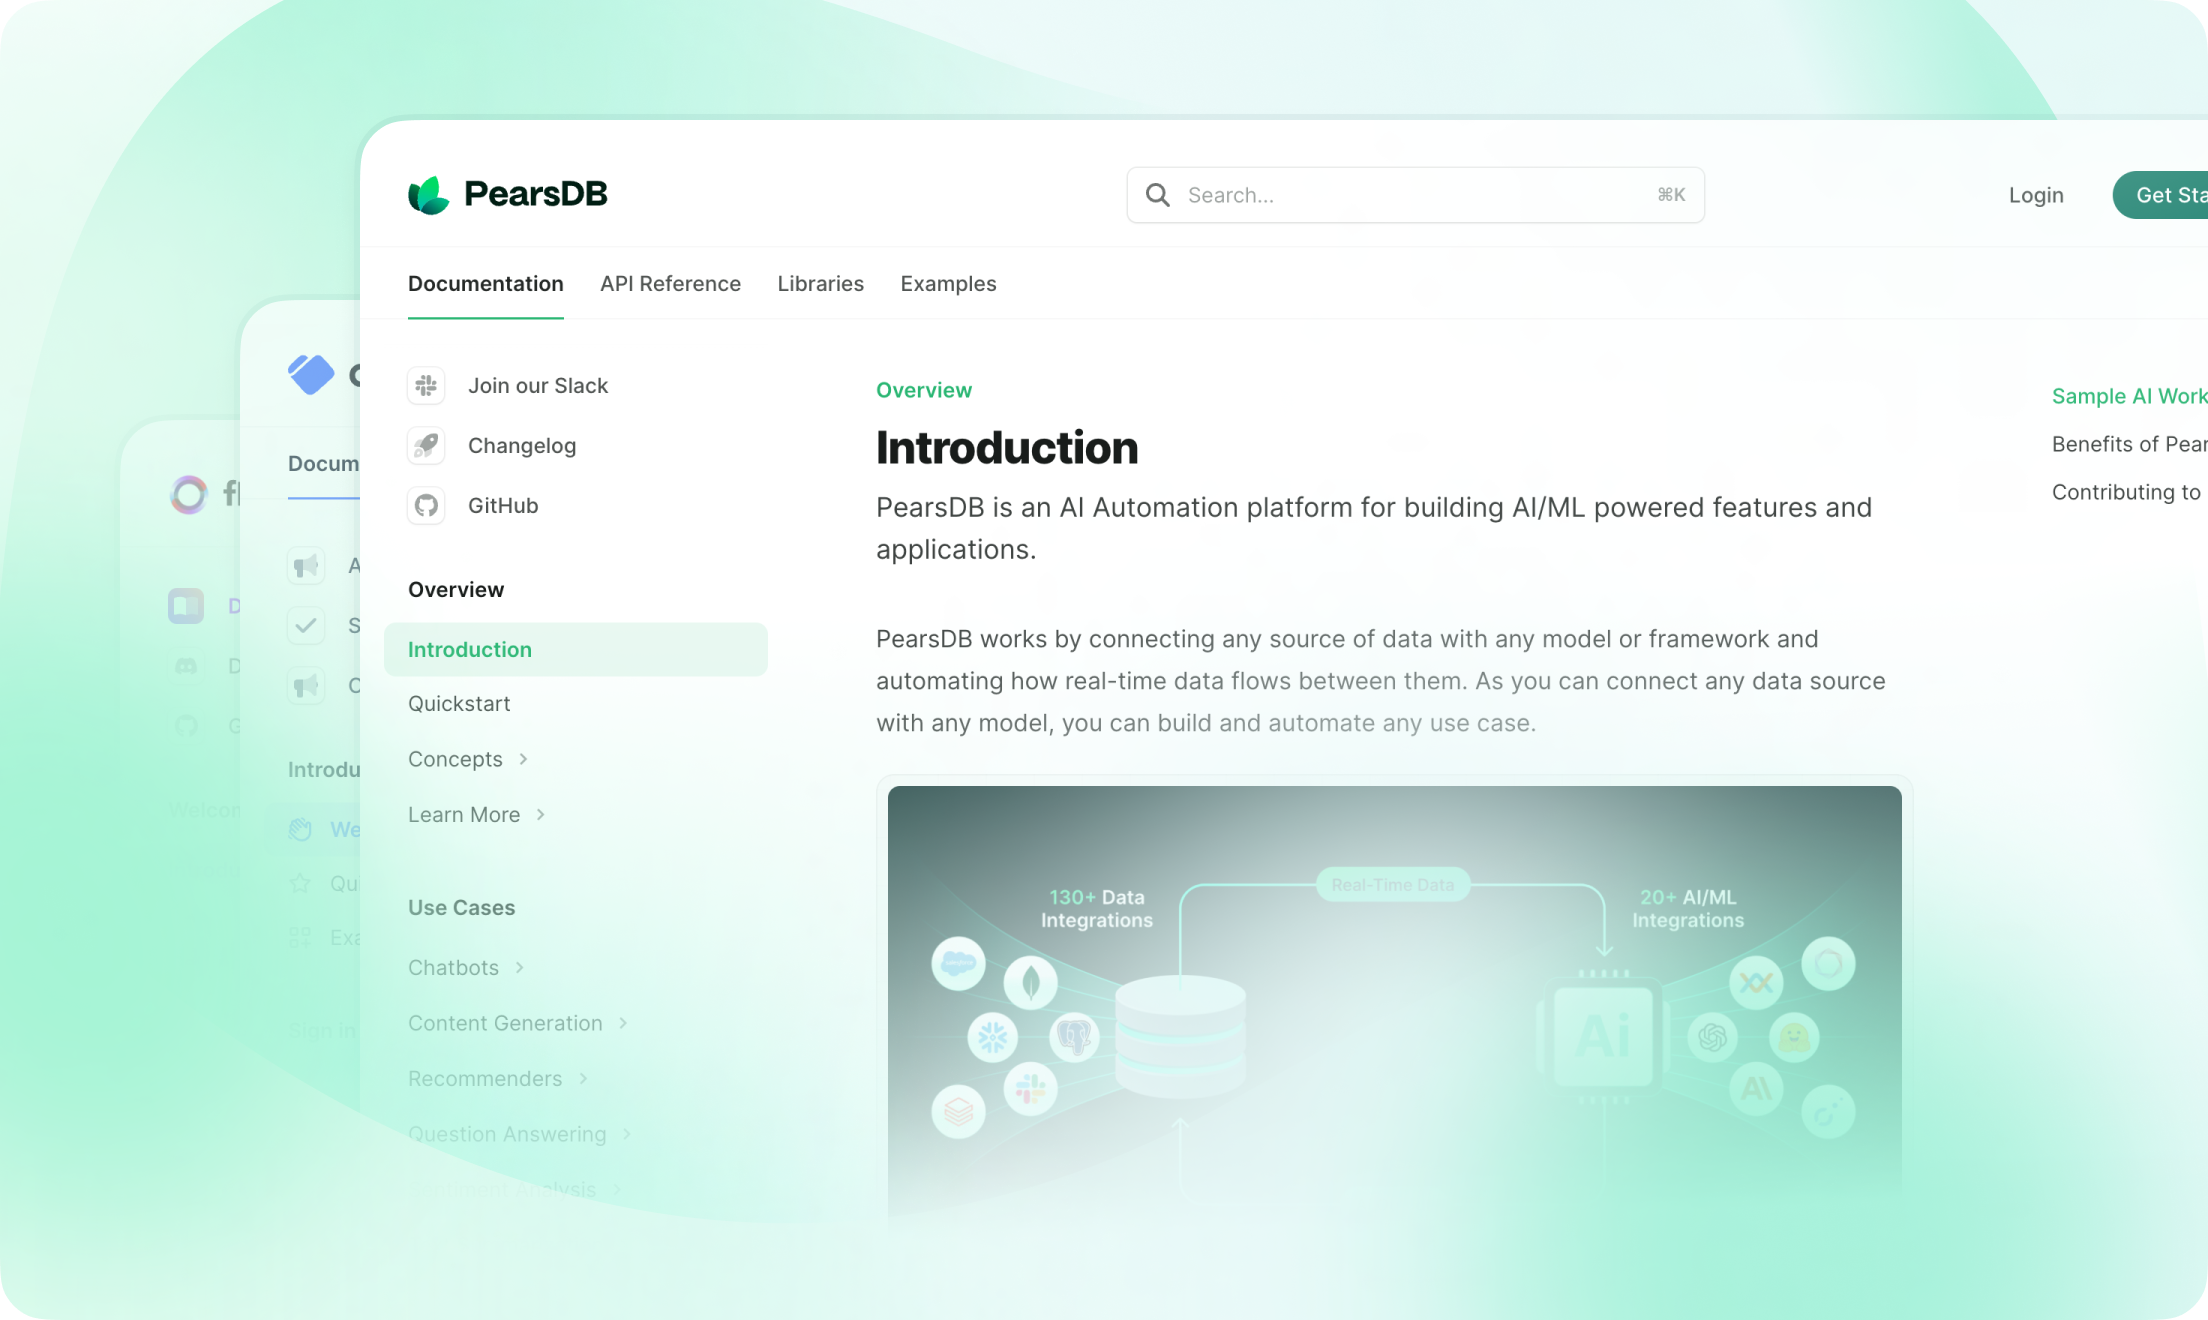 20 |
21 |
22 | ### Features
23 | - Responsive design
24 | - Anchor for each update
25 | - Generated RSS feed entry for each update
26 |
20 |
21 |
22 | ### Features
23 | - Responsive design
24 | - Anchor for each update
25 | - Generated RSS feed entry for each update
26 |  23 |
23 |  24 |
25 |
24 |
25 |  27 |
27 |  32 |
33 |
34 |
32 |
33 |
34 | 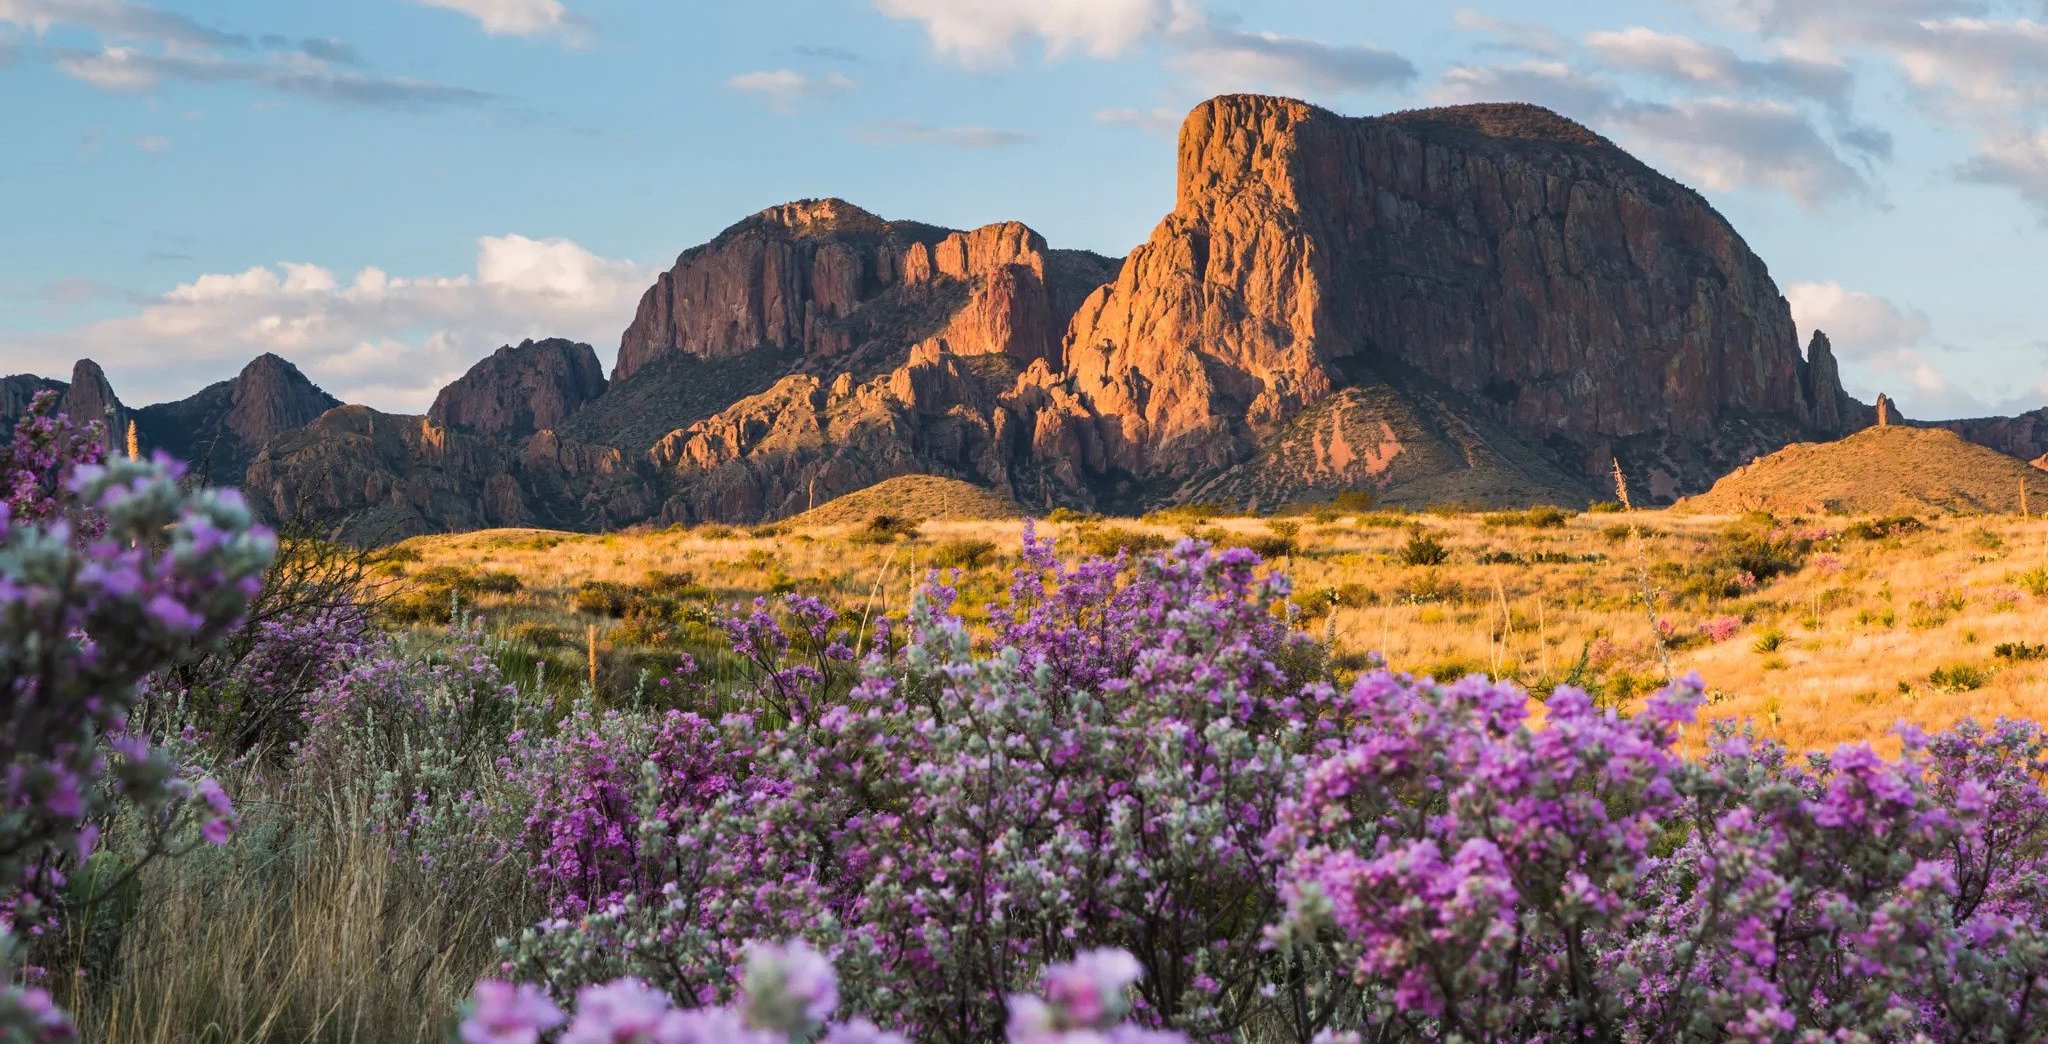 13 |
14 |
15 | ## Images
16 |
17 | Add images to provide visual context, examples, or decoration to your documentation.
18 |
19 | ### Basic image syntax
20 |
21 | Use [Markdown syntax](https://www.markdownguide.org/basic-syntax/#images) to add images to your documentation:
22 |
23 | ```mdx
24 | 
25 | ```
26 |
27 |
13 |
14 |
15 | ## Images
16 |
17 | Add images to provide visual context, examples, or decoration to your documentation.
18 |
19 | ### Basic image syntax
20 |
21 | Use [Markdown syntax](https://www.markdownguide.org/basic-syntax/#images) to add images to your documentation:
22 |
23 | ```mdx
24 | 
25 | ```
26 |
27 |  44 | ```
45 |
46 | #### Disable zoom functionality
47 |
48 | To disable the default zoom on click for images, add the `noZoom` property:
49 |
50 | ```html highlight="4"
51 |
44 | ```
45 |
46 | #### Disable zoom functionality
47 |
48 | To disable the default zoom on click for images, add the `noZoom` property:
49 |
50 | ```html highlight="4"
51 |  57 | ```
58 |
59 | #### Link images
60 |
61 | To make an image a clickable link, wrap the image in an anchor tag and add the `noZoom` property:
62 |
63 | ```html
64 |
65 |
57 | ```
58 |
59 | #### Link images
60 |
61 | To make an image a clickable link, wrap the image in an anchor tag and add the `noZoom` property:
62 |
63 | ```html
64 |
65 |  89 |
90 |
91 |
89 |
90 |
91 |  96 | ```
97 |
98 | ## Videos
99 |
100 | Mintlify supports [HTML tags in Markdown](https://www.markdownguide.org/basic-syntax/#html), giving you flexibility to create rich content.
101 |
102 |
96 | ```
97 |
98 | ## Videos
99 |
100 | Mintlify supports [HTML tags in Markdown](https://www.markdownguide.org/basic-syntax/#html), giving you flexibility to create rich content.
101 |
102 |