├── README.md
├── sysmatt.rpi.backup.gtar
├── sysmatt.rpi.restore.sd.card
└── articles
└── rpi-clone
└── main.html
/README.md:
--------------------------------------------------------------------------------
1 | sysmatt-rpi-tools
2 | =================
3 |
4 | Tools used to clone raspberry pi SD cards and OS images
5 |
--------------------------------------------------------------------------------
/sysmatt.rpi.backup.gtar:
--------------------------------------------------------------------------------
1 | #!/bin/bash
2 | # 20140804-1708 Matthew E Hoskins / Twitter: @sysmatt (c) GNU GPL
3 |
4 | set -x # debugging
5 |
6 | bomb () {
7 | echo "BOMB: ${1}"
8 | exit 1
9 | }
10 |
11 | # Default destination directory
12 | DSTDIR=/home/pi/backups
13 | DEFAULT_DFILE="${DSTDIR}/pi.`uname -n`.`date +%Y%m%d%H%M%S`.backup.tar.gz"
14 |
15 | # If we get a filename on the command line, use it instead of the default.
16 | DFILE="${1:-$DEFAULT_DFILE}"
17 | DEST_DIR_SANITY=`dirname "${DFILE}"`
18 |
19 | # Make sure the destination exists
20 | [ -d "${DEST_DIR_SANITY}" ] || bomb "Destination directory ${DEST_DIR_SANITY} does not exist"
21 |
22 | # Run the tar archive
23 | tar --exclude="${DFILE}" --one-file-system -cvzf "${DFILE}" / /boot
24 |
25 | echo "Created archive: ${DFILE}"
26 |
--------------------------------------------------------------------------------
/sysmatt.rpi.restore.sd.card:
--------------------------------------------------------------------------------
1 | #!/bin/bash
2 | # 20140804-1708 Matthew E Hoskins / Twitter: @sysmatt (c) GNU GPL
3 |
4 | SDCARD_DEVICE="${1:?You must specify one SD CARD DEVICE to destroy}"
5 | PI_BACKUP_SLASH="${2:?You must specify one PI BACKUP SLASH GTAR file}"
6 | shift; shift;
7 | # Any remaining args are added to TAR command line
8 |
9 | # Extra operations which can be done in ENV Vars
10 | # PI_OVERWRITE_ETC_HOSTNAME="new-hostname"
11 | # PI_OPENVPN_CONFIG_FILE="/some/source/client.conf"
12 |
13 |
14 |
15 | # Temp random mountpoint under /tmp
16 | MOUNTPOINT="/tmp/pi.sd.${RANDOM}${$}"
17 |
18 | bomb (){
19 | echo "BOMB: ${1}"
20 | exit 1
21 | }
22 |
23 | [ -x "/sbin/mkfs.vfat" ] || bomb "/sbin/mkfs.vfat Missing"
24 |
25 | echo ""
26 | echo "=== ${SDCARD_DEVICE} Current Partition Table - To be destroyed! ==="
27 | parted --script ${SDCARD_DEVICE} "print"
28 | echo ""
29 | read -p "PRESS ENTER to DESTROY ${SDCARD_DEVICE}, Press CTRL-c to abort"
30 |
31 | parted --script "${SDCARD_DEVICE}" "mklabel msdos"
32 | parted --script "${SDCARD_DEVICE}" "mkpart primary fat16 1MiB 64MB"
33 | parted --script "${SDCARD_DEVICE}" "mkpart primary ext4 64MB -1s"
34 | parted --script "${SDCARD_DEVICE}" print
35 | mkfs.vfat "${SDCARD_DEVICE}1"
36 | mkfs.ext4 -F -j "${SDCARD_DEVICE}2"
37 | mkdir -p "${MOUNTPOINT}"
38 | mount "${SDCARD_DEVICE}2" "${MOUNTPOINT}"
39 | mkdir -p "${MOUNTPOINT}/boot"
40 | mount "${SDCARD_DEVICE}1" "${MOUNTPOINT}/boot"
41 | df -h "${MOUNTPOINT}"
42 | df -h "${MOUNTPOINT}/boot"
43 | read -p "Press ENTER To begin image restore"
44 | tar $@ -xvzf "${PI_BACKUP_SLASH}" -C "${MOUNTPOINT}"
45 |
46 | # Begin NOOBS fixup / Recommended by @KevinSidwar / 20140829-1744-MEH
47 | ORIG_SLASHDEV_FOUND=`cat "${MOUNTPOINT}/etc/fstab"| grep " / " |grep -v "^#" |awk '{ print $1; }'`
48 | ORIG_BOOTDEV_FOUND=`cat "${MOUNTPOINT}/etc/fstab"| grep " /boot " |grep -v "^#" |awk '{ print $1; }'`
49 |
50 | # Hardcoded
51 | NEW_SLASHDEV="/dev/mmcblk0p2"
52 | NEW_BOOTDEV="/dev/mmcblk0p1"
53 |
54 | # Defaults just in case the above search of fstab is a miss
55 | ORIG_SLASHDEV="${ORIG_SLASHDEV_FOUND:-$NEW_SLASHDEV}"
56 | ORIG_BOOTDEV="${ORIG_BOOTDEV_FOUND:-$NEW_BOOTDEV}"
57 |
58 |
59 | echo "ORIG_SLASHDEV[${ORIG_SLASHDEV}] NEW_SLASHDEV[${NEW_SLASHDEV}] ORIG_BOOTDEV[${ORIG_BOOTDEV}] NEW_BOOTDEV[${NEW_BOOTDEV}]"
60 |
61 | FILE_FSTAB="${MOUNTPOINT}/etc/fstab"
62 | FILE_CMDLINE="${MOUNTPOINT}/boot/cmdline.txt"
63 | FILE_OS_CONFIG_JSON="${MOUNTPOINT}/boot/os_config.json"
64 |
65 | if [ "${ORIG_SLASHDEV}" != "${NEW_SLASHDEV}" -o "${ORIG_BOOTDEV}" != "${NEW_BOOTDEV}" ]
66 | then
67 | echo "CONFIGURATION CONVERSION NECESSARY - Devices do not match, modifying files. "
68 |
69 | THISFILE="${FILE_FSTAB}"
70 | if [ -e "${THISFILE}" ]
71 | then
72 | echo "Fixing ${THISFILE}"
73 | cp -f "${THISFILE}" "${THISFILE}.old"
74 | cat "${THISFILE}.old" |sed -e "s#${ORIG_SLASHDEV}#%NEW_SLASHDEV%# ; s#${ORIG_BOOTDEV}#%NEW_BOOTDEV%#" > "${THISFILE}.i"
75 | cat "${THISFILE}.i" |sed -e "s#%NEW_SLASHDEV%#${NEW_SLASHDEV}# ; s#%NEW_BOOTDEV%#${NEW_BOOTDEV}#" >"${THISFILE}"
76 | rm -f "${THISFILE}.i"
77 | fi
78 |
79 | THISFILE="${FILE_CMDLINE}"
80 | if [ -e "${THISFILE}" ]
81 | then
82 | echo "Fixing ${THISFILE}"
83 | cp -f "${THISFILE}" "${THISFILE}.old"
84 | cat "${THISFILE}.old" |sed -e "s#${ORIG_SLASHDEV}#%NEW_SLASHDEV%# ; s#${ORIG_BOOTDEV}#%NEW_BOOTDEV%#" > "${THISFILE}.i"
85 | cat "${THISFILE}.i" |sed -e "s#%NEW_SLASHDEV%#${NEW_SLASHDEV}# ; s#%NEW_BOOTDEV%#${NEW_BOOTDEV}#" >"${THISFILE}"
86 | rm -f "${THISFILE}.i"
87 | fi
88 |
89 | THISFILE="${FILE_OS_CONFIG_JSON}"
90 | if [ -e "${THISFILE}" ]
91 | then
92 | echo "Fixing ${THISFILE}"
93 | cp -f "${THISFILE}" "${THISFILE}.old"
94 | cat "${THISFILE}.old" |sed -e "s#${ORIG_SLASHDEV}#%NEW_SLASHDEV%# ; s#${ORIG_BOOTDEV}#%NEW_BOOTDEV%#" > "${THISFILE}.i"
95 | cat "${THISFILE}.i" |sed -e "s#%NEW_SLASHDEV%#${NEW_SLASHDEV}# ; s#%NEW_BOOTDEV%#${NEW_BOOTDEV}#" >"${THISFILE}"
96 | rm -f "${THISFILE}.i"
97 | fi
98 |
99 | fi
100 | # End Noobs fixup
101 | if [ -n "${PI_OVERWRITE_ETC_HOSTNAME}" ]
102 | then
103 | # Write a new /etc/hostname
104 | echo "Writing new /etc/hostname with [${PI_OVERWRITE_ETC_HOSTNAME}] to ${MOUNTPOINT}/etc/hostname"
105 | echo "${PI_OVERWRITE_ETC_HOSTNAME}" > "${MOUNTPOINT}/etc/hostname"
106 | fi
107 |
108 | if [ -e "${PI_OPENVPN_CONFIG_FILE}" ]
109 | then
110 | echo "Writing OpenVPN config [${PI_OPENVPN_CONFIG_FILE}] to ${MOUNTPOINT}/etc/openvpn/"
111 | rm -f ${MOUNTPOINT}/etc/openvpn/*.conf
112 | cp -f "${PI_OPENVPN_CONFIG_FILE}" "${MOUNTPOINT}/etc/openvpn/"
113 | fi
114 |
115 | echo ""
116 | echo ""
117 | echo =DONE=
118 | echo "The SD is mounted at: ${MOUNTPOINT}"
119 | echo "Now would be a good time to make modifications in another shell session..."
120 | read -p "Press ENTER To unmount or CTRL-c to exit leaving mounted."
121 | echo ""
122 | echo "Working. This may take a moment..."
123 | echo ""
124 | set -x
125 | umount "${MOUNTPOINT}/boot"
126 | umount "${MOUNTPOINT}"
127 |
128 |
129 |
--------------------------------------------------------------------------------
/articles/rpi-clone/main.html:
--------------------------------------------------------------------------------
1 |
5 |
6 | 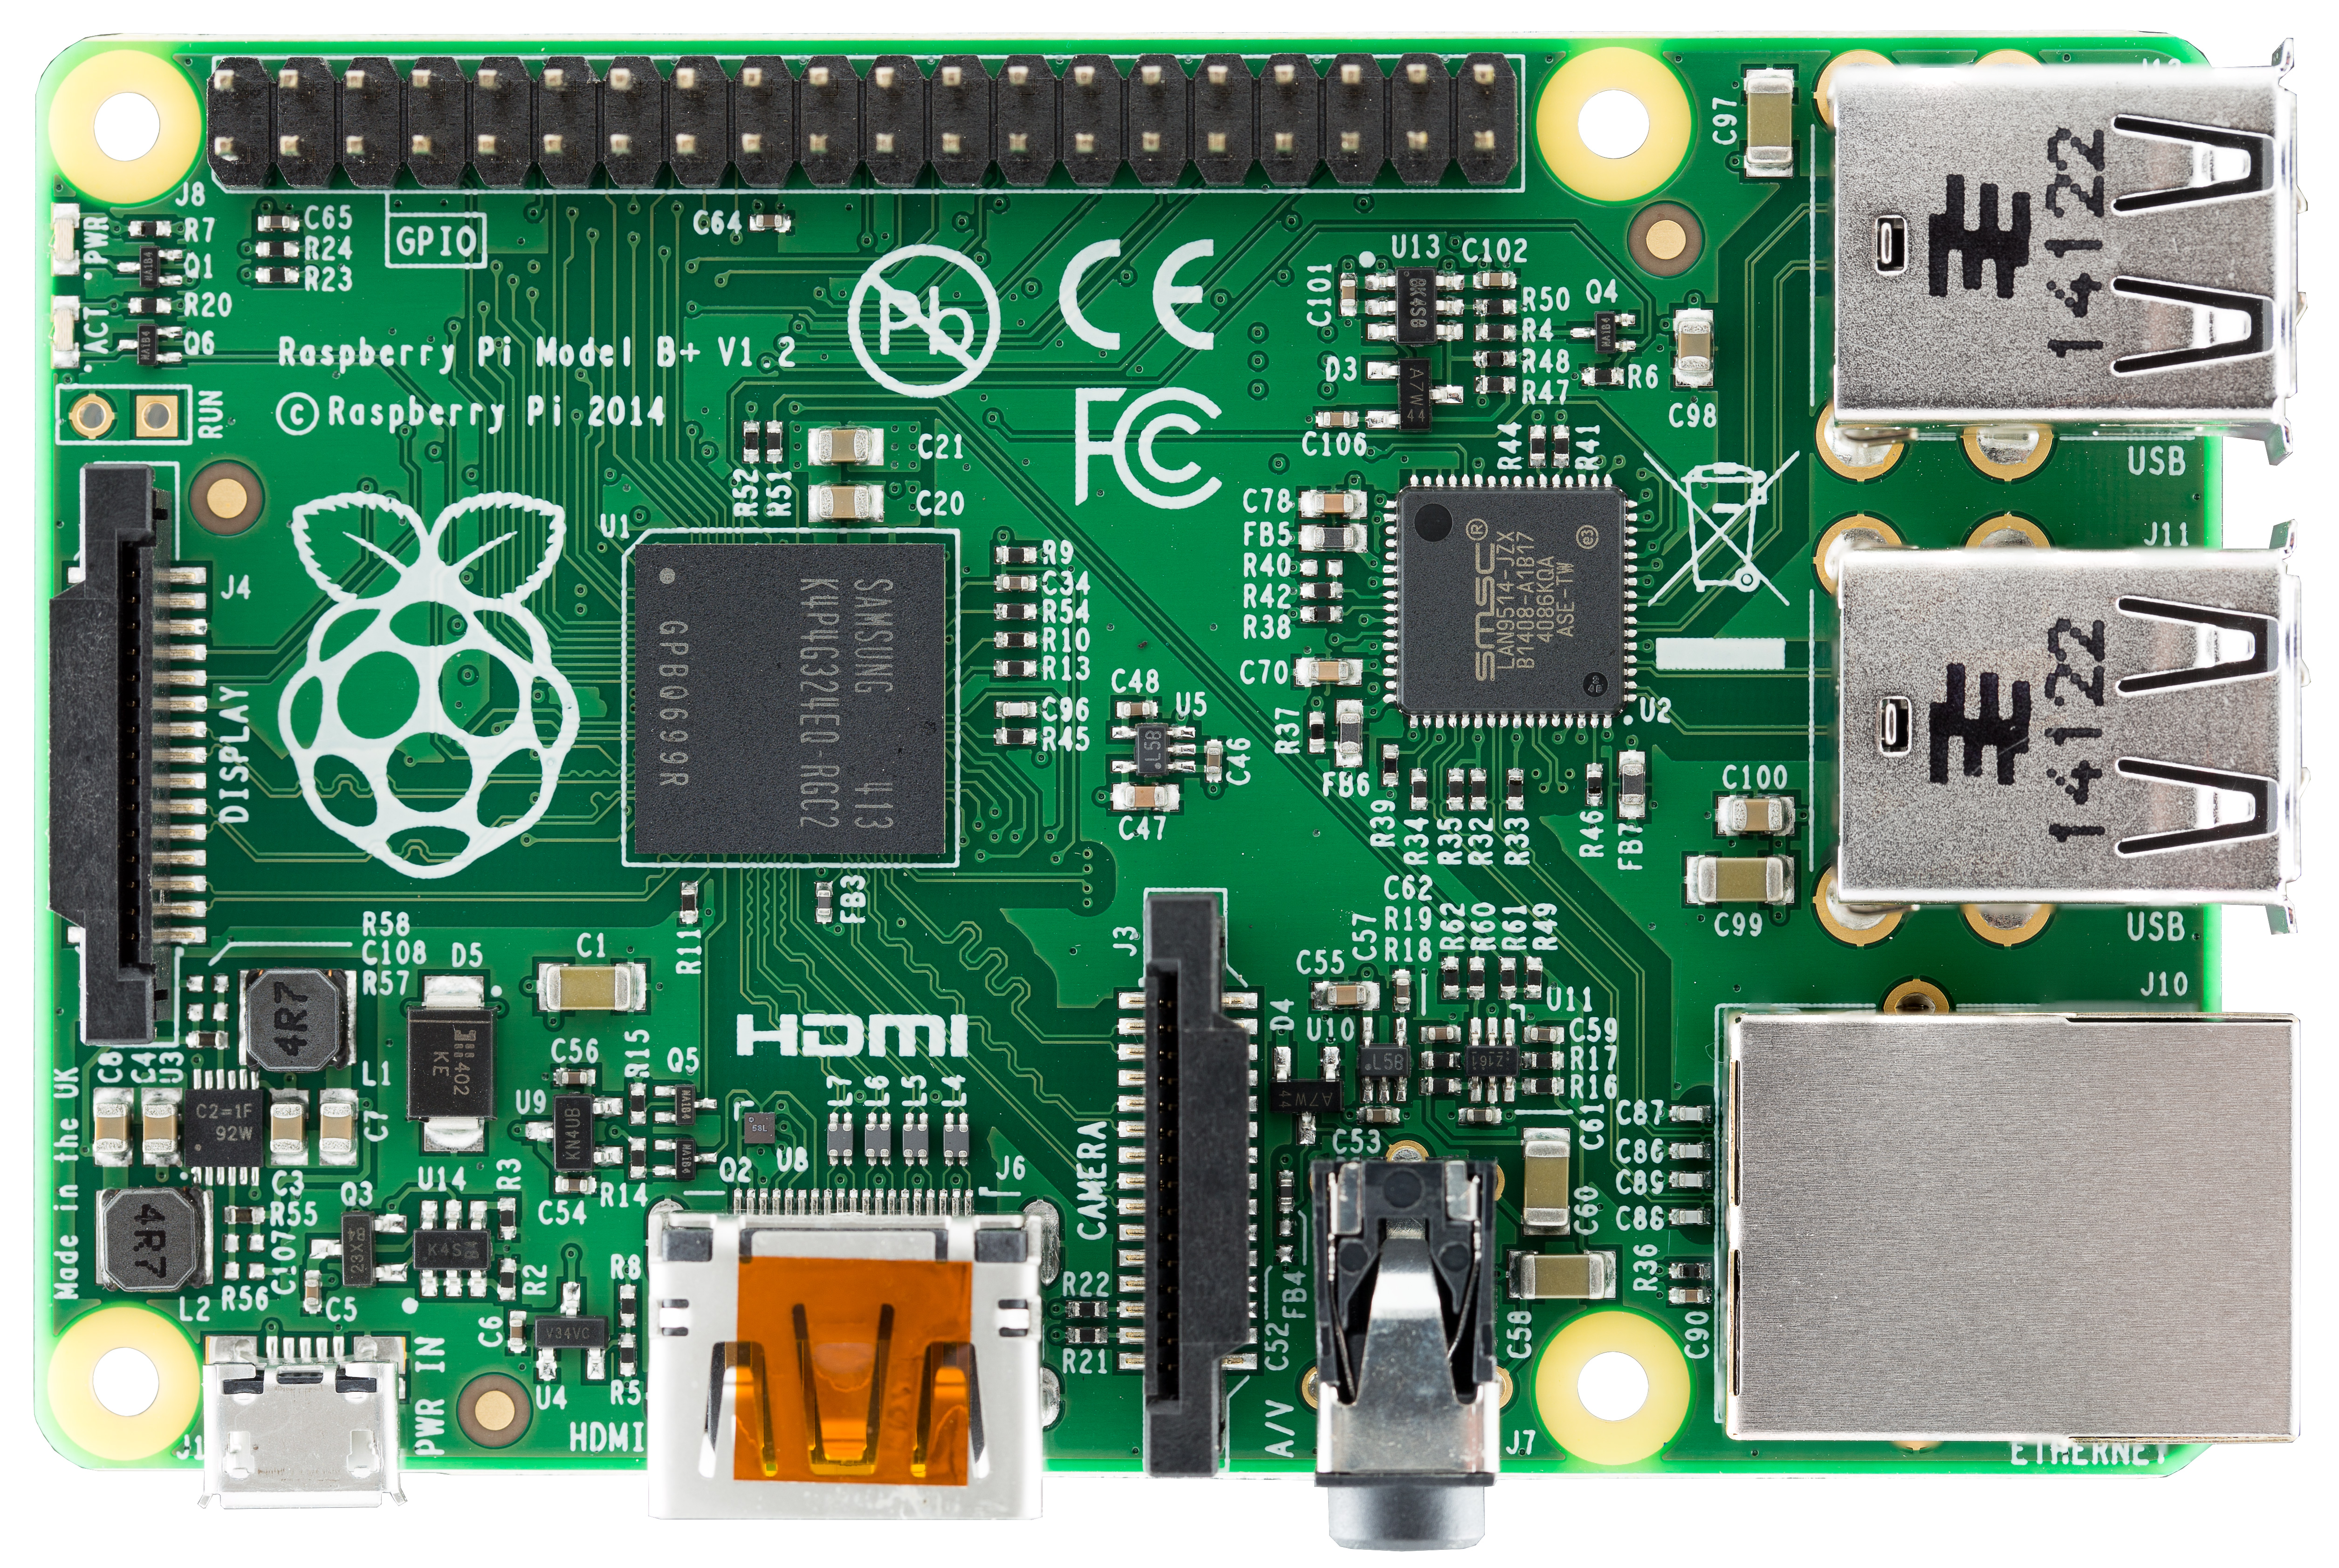
Image Credit:" Raspberry Pi B+ top" by Lucasbosch - Own work. Licensed under CC BY-SA 3.0 via Wikimedia Commons.
7 |
8 |
9 |
10 | Ladies and gentlemen, if you are like me, you probably have a few raspberry pi. (Piis?) I have found them to be great little Linux development boards supported by a huge community. Whenever I need a net connected microprocessor project, the pi is an easy win. I have used it in internet connected clocks, LED signs, RGB lighting projects and so many other crazy projects. They make a great internet gateway for Arduino projects. This use is the very definition of "embedded", a raspberry pi with no keyboard, mouse or monitor. It boots, connects and does it's programmed task. It would be a huge inconvenience to manually configure every one of these starting from a raspbian .img file. Even if your not into electronics, manipulating the SD cards directly will make your life a little easier.
11 |
12 | Now would be a great time to introduce my "day job". I am a professional *NIX system administrator and system architect. So when I see a raspberry pi I see a Linux box. UNIX/Linux systems are very easy to clone, it's just a pile of files. I will start with some basic theory and how to work with the SD card from the command line. Then, I will introduce you to my scripts which automate the process.
13 |
14 |
15 |
19 |
22 |
23 |
No Magic here
24 |
25 | Exactly how the raspberry pi boots is widely misunderstood. And no wonder, it's ummm, complicated. In almost every computer architecture "bootstrap" is messy and complicated. For the user though, the raspberry pi has kept it pretty simple, its just files on the SD. Interface wise, the SD card looks like a disk. Upon that disk are two partitions, a DOS (vfat) partition which contains almost everything necessary for booting, configuration, firmware, and kernel images. Why FAT? Well, when constructing a bootstrap process, the name of the game is simplicity and small code size. The DOS FAT filesystem is very simple compared to modern filesystems, it's also very well understood and pretty universal. The "userland" part of the Linux operating system lives in the second partition which is usually ext4. When the raspberry pi powers on, small chunks of firmware step by step load code into the GPU and CPU until it can eventually load the Linux kernel. This finally makes the system smart enough to mount the slash "/" partition and do all the userland linuxy stuff.
26 |
27 | So once we understand how it's using the SD card, we can duplicate it and pre-configure if before we even power it on. No magic, It's all just regular files and some *NIX know-how.
28 |
29 |
Basic Cloning
30 |
31 | The first use case we will explore cloning a running raspberry pi to a fresh SD card. To make things easy, we will do all these steps on the actual raspberry pi. You will need to have one free USB port and a USB SD card reader. We will do this step-by-step from the command line, this will give you a good idea how my scripts are constructed later.
32 | Power on your Raspberry pi, and log in by whatever means you prefer (graphical, ssh, etc). Get to a command prompt and sudo to a root shell, everything we are going to do needs root privilege. You will also need to install the dosfstools package which is used later. Then, plug in your SD card to any free USB port. Use the "dmesg" utility to dump the kernel log, look at the output to determine what scsi device your new SD card has been assigned. (stuff you type is underlined)
33 |
34 |
35 |
 36 | pi$ sudo su
 37 | root# apt-get install dosfstools
 38 | root# dmesg
 39 | [  147.590292] sd 0:0:0:0: Attached scsi generic sg0 type 0
 40 | [  147.977885] sd 0:0:0:0: [sda] 15759360 512-byte logical blocks: (8.06 GB/7.51 GiB)
 41 | [  147.978590] sd 0:0:0:0: [sda] Write Protect is off
 42 | [  147.978623] sd 0:0:0:0: [sda] Mode Sense: 03 00 00 00
 43 | [  147.979287] sd 0:0:0:0: [sda] No Caching mode page found
 44 | [  147.979314] sd 0:0:0:0: [sda] Assuming drive cache: write through
 45 | [  147.982973] sd 0:0:0:0: [sda] No Caching mode page found
 46 | [  147.983007] sd 0:0:0:0: [sda] Assuming drive cache: write through
 47 | [  147.986412]  sda: sda1 sda2
 48 | [  147.990030] sd 0:0:0:0: [sda] No Caching mode page found
 49 | [  147.990064] sd 0:0:0:0: [sda] Assuming drive cache: write through
 50 | [  147.990089] sd 0:0:0:0: [sda] Attached SCSI removable disk
 51 |
52 | |
53 | From the above, we can see that our SD card has been assigned "sda" which means /dev/sda is how we will get to it.
54 |
55 | First, we need to create the two partitions to hold our /boot and / (slash) filesystems. We do this with the GNU parted utility.
56 |
57 |
 58 | root# parted /dev/sda
 59 | GNU Parted 2.3
 60 | Using /dev/sda
 61 | Welcome to GNU Parted! Type 'help' to view a list of commands.
 62 | (parted) mklabel msdos
 63 | Warning: The existing disk label on /dev/sda will be destroyed and all data on this disk will be lost. Do you want to continue?
 64 | Yes/No? y
 65 | (parted) mkpart primary fat16 1MiB 64MB
 66 | (parted) mkpart primary ext4 64MB -1s
 67 | (parted) print
 68 | Model: Single Flash Reader (scsi)
 69 | Disk /dev/sda: 8069MB
 70 | Sector size (logical/physical): 512B/512B
 71 | Partition Table: msdos
 72 |
 73 | Number  Start   End     Size    Type     File system  Flags
 74 |  1      1049kB  64.0MB  62.9MB  primary  fat16        lba
 75 |  2      64.0MB  8069MB  8005MB  primary
 76 |
 77 | (parted) quit
 78 |
|
79 |
80 | To summarize what we just did. First we use the "mklabel" to create a fresh msdos style partition table on /dev/sda, you will have to answer "y" to the warning. Next we create the partition to hold our FAT /boot filesystem, with a size of 64MB. Next we tell parted to create another partition to hold our slash (/) filesystem starting at the 64MB mark, and ending at the last available sector of the disk (-1s). We tell parted that these two partitions will be fat16 and ext4 respectively so it will set the correct partition type on each.
81 |
82 | Finally we "print" the resulting partition table so we can see it, then exit with "quit"
83 |
84 | The two partitions we just created are now available as devices /dev/sda1 and /dev/sda2. Next we need to format them. This is done with the mkfs.vfat and mkfs.ext4 commands:
85 |
86 |
 87 | root# mkfs.vfat /dev/sda1
 88 | mkfs.vfat 3.0.13 (30 Jun 2012)
 89 |
 90 | root# mkfs.ext4 -j /dev/sda2
 91 | mke2fs 1.42.5 (29-Jul-2012)
 92 | Filesystem label=
 93 | OS type: Linux
 94 | Block size=4096 (log=2)
 95 | Fragment size=4096 (log=2)
 96 | Stride=0 blocks, Stripe width=0 blocks
 97 | 488640 inodes, 1954304 blocks
 98 | 97715 blocks (5.00%) reserved for the super user
 99 | First data block=0
100 | Maximum filesystem blocks=2004877312
101 | 60 block groups
102 | 32768 blocks per group, 32768 fragments per group
103 | 8144 inodes per group
104 | Superblock backups stored on blocks:
105 |         32768, 98304, 163840, 229376, 294912, 819200, 884736, 1605632
106 |
107 | Allocating group tables: done
108 | Writing inode tables: done
109 | Creating journal (32768 blocks): done
110 | Writing superblocks and filesystem accounting information: done
111 |
|
112 |
113 | Excellent! Now we need to mount these two partitions somewhere so we can copy data to it. Let's make a temporary directory under /tmp/newpi and do all our work under it. Below are the commands to mount our SD cards:
114 |
115 |
116 | root# mkdir /tmp/newpi
117 | root# mount /dev/sda2 /tmp/newpi
118 | root# mkdir /tmp/newpi/boot
119 | root# mount /dev/sda1 /tmp/newpi/boot
120 | root# df -h
121 | Filesystem               Size  Used Avail Use% Mounted on
122 | rootfs                    15G  2.3G   12G  17% /
123 | /dev/root                 15G  2.3G   12G  17% /
124 | devtmpfs                 215M     0  215M   0% /dev
125 | tmpfs                     44M  248K   44M   1% /run
126 | tmpfs                    5.0M     0  5.0M   0% /run/lock
127 | tmpfs                     88M     0   88M   0% /run/shm
128 | /dev/mmcblk0p1            60M  9.4M   51M  16% /boot
129 | tmpfs                     10M     0   10M   0% /tmp
130 | /dev/sda2                7.3G   17M  6.9G   1%  /tmp/newpi
131 | /dev/sda1                 60M     0   60M   0% /tmp/newpi/boot
132 |
|
133 |
134 |
135 | Nice! The output of the "df" command will show us that both slash and boot have been mounted and are the expected sizes. In my case I am using a 8gb SD card. Next, we will execute a command to copy our existing raspbian OS installed on our running pi into our mounted SD card. Now, a couple notes about live cloning. If you are running any services that keep data files open (like mysql, postgresql, apt-get, or other applications) these should be shutdown to insure you get a clean copy. We will use the rsync utility for this copy, we will tell it to only copy / (slash) and /boot, further, we will also tell rsync not to cross filesystem boundaries (--one-file-system).
136 |
137 |
138 | Why do we specify slash (/) and boot separately? If you look above at the df listing you can see lots of other filesystems mounted. Some of these are ramdisks and virtual filesystems (/sys, /dev, /tmp, and /proc for instance). We do not want to copy these at all. By using the --one-file-system and specifying explicitly slash (/) and /boot, we only capture the OS tree of files. ( Note, the rsync is sensitive to trailing slashes on the source and destination directory names, make sure you run it exactly as below)
139 |
140 |
141 | root# rsync -av --one-file-system / /boot /tmp/newpi/
142 | (lots and lots of files print out...)
143 | var/log/news/news.notice
144 | var/log/ntpstats/
145 | var/log/samba/
146 | var/mail/
147 | var/opt/
148 | var/spool/
149 | var/spool/rsyslog/
150 | var/tmp/
151 | var/www/
152 |
153 | sent 2204324795 bytes  received 1303348 bytes  2608667.23 bytes/sec
154 | total size is 2199215758  speedup is 1.00
155 |
156 | root# df -h
157 | Filesystem               Size  Used Avail Use% Mounted on
158 | rootfs                    15G  2.3G   12G  17% /
159 | /dev/root                 15G  2.3G   12G  17% /
160 | devtmpfs                 215M     0  215M   0% /dev
161 | tmpfs                     44M  248K   44M   1% /run
162 | tmpfs                    5.0M     0  5.0M   0% /run/lock
163 | tmpfs                     88M     0   88M   0% /run/shm
164 | /dev/mmcblk0p1            60M  9.4M   51M  16% /boot
165 | tmpfs                     10M     0   10M   0% /tmp
166 | /dev/sda2                7.3G  2.3G  4.6G  33% /tmp/newpi
167 | /dev/sda1                 60M  9.4M   51M  16% /tmp/newpi/boot
168 |
169 |
|
170 |
171 | Cool, after the copy completes, we run "df -h" again and can see that the destination slash mounted on /tmp/newpi matches in size our running system's slash, at about 2.3G. So now, what else can we do? Well the sky is the limit really. We have a ready to roll raspbian SD card mounted and ready to customize!
172 |
173 |
174 | Just a couple examples of things you can customize...

175 | Change the hostname
176 | root# vim /tmp/newpi/etc/hostname
177 |
178 |
179 | (or without using an editor)
180 | root# echo "mynewhostname" > /tmp/newpi/etc/hostname
181 |
182 |
183 | Change the network interface settings, or set a different static IP:
184 |
185 | root# vim /tmp/newpi/etc/network/interfaces
186 |
187 |
188 | Example: Wireless /w DHCP:
189 |
190 | auto lo
191 |
192 | iface lo inet loopback
193 | iface eth0 inet dhcp
194 | iface default inet dhcp
195 |
196 | auto wlan0
197 | allow-hotplug wlan0 eth0
198 | iface wlan0 inet dhcp
199 |         wpa-passphrase MY-WIRELESS-PASSPHRASE
200 |         wpa-ssid MY-WIRELESS-SSID
201 |
202 |
203 |
204 | Example: Wireless /w static IP:
205 |
206 | auto lo
207 |
208 | iface lo inet loopback
209 | iface eth0 inet dhcp
210 | iface default inet dhcp
211 |
212 | auto wlan0
213 | allow-hotplug wlan0 eth0
214 | iface wlan0 inet static
215 |         wpa-passphrase MY-WIRELESS-PASSPHRASE
216 |         wpa-ssid MY-WIRELESS-SSID
217 |         address 192.168.1.22
218 |         netmask 255.255.255.0
219 |         network 192.168.1.0
220 |         gateway 192.168.1.1
221 |
|
222 |
223 | These are just a few examples. When your ready to try out your cloned SD card, you should unmount it using the following commands. Make sure you close any shells or change your current working directory (cd) off the new devices or you will get an error when you try to unmount.
224 |
225 |
226 | root# umount /tmp/newpi/boot
227 | root# umount /tmp/newpi
228 |
|
229 |
230 | You can now safely pull the SD card out and put it in your destination raspberry pi. It should boot and work just like any other SD card.
231 |
232 |
233 |
234 |
238 |
241 |
242 |
Sysmatt's Scripts
243 |
244 | Now that we have the basic concepts down, Let me show you some of my scripts to automate creating SD cards. These scripts allow you to create and store backup copies of your running raspberry pi systems. You can use this to construct a library of standard, tested, known good images. Very useful when someone wants you to build them a copy of your next talking clock project!
245 |
246 | We need to retrieve and install the scripts. You will find a link at the end of this article to the current version of the scripts. Download the latest tar archive and untar it into /usr/local/bin as shown below
247 |
248 | Download the latest zip from github
249 |
250 |
251 | root# cd /tmp
252 | root# wget -O sysmatt-rpi-tools.zip  https://github.com/sysmatt-industries/sysmatt-rpi-tools/archive/master.zip
253 |
|
254 |
255 | Install to /usr/local/bin or any other location you prefer
256 |
257 |
258 | root# unzip sysmatt-rpi-tools.zip
259 | root# cd sysmatt-rpi-tools-master/
260 | root# chmod +x sysmatt.rpi.*
261 | root# mv sysmatt.rpi.* /usr/local/bin
262 |
|
263 |
264 |
Making a backup archive
265 |
266 | In these scripts I just use a tar archive to store the image. This makes them nicely portable and easy to modify. The first script is used to create the backup copy of the running raspberry pi. This script, "sysmatt.rpi.backup.gtar", by default creates it's backup file under the pi user's home directory with a default filename containing the hostname of the raspberry pi and the datestamp. You can override this filename by specifying an alternate on the command line. Below, I will run this script on the new pi we just cloned. If you so not have enough free disk space on your SD card to hold the tar archive you might want to write it to a flash drive or network mounted filesystem. You should be fine if your SD card is 8gb or larger and have not downloaded too software/data.
267 |
268 | To write the tar archive to /home/pi/backups:
269 |
270 | root# mkdir -p /home/pi/backups
271 | root# sysmatt.rpi.backup.gtar
272 | (Lots and lots of files listed...)
273 |
|
274 |
275 | Or, to specify an alternate location, run it with a filename argument:
276 |
277 |
278 | root# sysmatt.rpi.backup.gtar /root/my.pi.backup.tar.gz
279 |
|
280 |
281 | Either of the above will result in a backup copy of the running system being stored in a tar archive file. Again, a note of caution, if you have any programs that are actively writing to data files (mysql/postgresql/apt-get/etc) these should be not run while you make this clone so you get a clean copy.
282 |
283 |
284 |
285 |
289 |
292 |
293 |
Restoring / Cloning
294 |
295 | The next script in the arsenal is a little more complicated. It is called "sysmatt.rpi.restore.sd.card", it automates all the steps we did above with partitioning, creating filesystems, and copying the raspbian image (in the tar archive we just created). This script will destroy everything on the destination SD card, so be careful! First, we insert our destination SD card into a free USB port and discover what /dev/sd? device it has been assigned. You should never assume without checking dmesg!Tip: This script will also work just fine on any Linux box, so you can create SD cards from a workstation also.
296 |
297 |
298 | root# dmesg
299 | (removes lots of lines...)
300 | [ 6832.265765] scsi1 : usb-storage 1-1.2:1.0
301 | [ 6833.262698] scsi 1:0:0:0: Direct-Access     Single   Flash Reader     1.00 PQ: 0 ANSI: 0
302 | [ 6833.265306] sd 1:0:0:0: Attached scsi generic sg0 type 0
303 | [ 6833.772774] sd 1:0:0:0: [sda] 15644672 512-byte logical blocks: (8.01 GB/7.45 GiB)
304 | [ 6833.773480] sd 1:0:0:0: [sda] Write Protect is off
305 | [ 6833.773513] sd 1:0:0:0: [sda] Mode Sense: 03 00 00 00
306 | [ 6833.774183] sd 1:0:0:0: [sda] No Caching mode page found
307 | [ 6833.774211] sd 1:0:0:0: [sda] Assuming drive cache: write through
308 | [ 6833.777814] sd 1:0:0:0: [sda] No Caching mode page found
309 | [ 6833.777846] sd 1:0:0:0: [sda] Assuming drive cache: write through
310 | [ 6833.779191]  sda: sda1 sda2
311 | [ 6833.785295] sd 1:0:0:0: [sda] No Caching mode page found
312 | [ 6833.785330] sd 1:0:0:0: [sda] Assuming drive cache: write through
313 | [ 6833.785360] sd 1:0:0:0: [sda] Attached SCSI removable disk
314 |
|
315 |
316 | Ok, looks like this was assigned /dev/sda also. Don't assume!
317 |
318 | Now we run the sysmatt.rpi.restore.sd.card script passing the name of the SD device and the tar archive to restore from. Note, your specific filename will be different.
319 |
320 |
321 | root# ls -l /home/pi/backups/pi.mynewhostname.20140804162905.backup.tar.gz
322 | -rwxr-xr-x 1 root root 1431671079 Aug  4 17:49 /home/pi/backups/pi.mynewhostname.20140804162905.backup.tar.gz
323 |
|
324 | Above listed is the tar archive we just created. We will now restore it using the next script. Note, it is interactive and will ask you for confirmation. Before the script exits it will give you the opportunity to modify the resulting SD card before it unmounts it.
325 |
326 |
327 | root# sysmatt.rpi.restore.sd.card /dev/sda /home/pi/backups/pi.mynewhostname.20140804162905.backup.tar.gz
328 | === /dev/sda Current Partition Table - To be destroyed! ===
329 | Model: Single Flash Reader (scsi)
330 | Disk /dev/sda: 8010MB
331 | Sector size (logical/physical): 512B/512B
332 | Partition Table: msdos
333 |
334 | Number  Start   End     Size    Type     File system  Flags
335 |  1      1049kB  64.0MB  62.9MB  primary  fat16        lba
336 |  2      64.0MB  8010MB  7946MB  primary  ext4
337 |
338 |
339 | PRESS ENTER to DESTROY /dev/sda, Press CTRL-c to abort
340 |
341 | Model: Single Flash Reader (scsi)
342 | Disk /dev/sda: 8010MB
343 | Sector size (logical/physical): 512B/512B
344 | Partition Table: msdos
345 |
346 | Number  Start   End     Size    Type     File system  Flags
347 |  1      1049kB  64.0MB  62.9MB  primary  fat16        lba
348 |  2      64.0MB  8010MB  7946MB  primary  ext4
349 |
350 | mkfs.vfat 3.0.13 (30 Jun 2012)
351 | mke2fs 1.42.5 (29-Jul-2012)
352 | Filesystem label=
353 | OS type: Linux
354 | Block size=4096 (log=2)
355 | Fragment size=4096 (log=2)
356 | Stride=0 blocks, Stripe width=0 blocks
357 | 485760 inodes, 1939968 blocks
358 | 96998 blocks (5.00%) reserved for the super user
359 | First data block=0
360 | Maximum filesystem blocks=1988100096
361 | 60 block groups
362 | 32768 blocks per group, 32768 fragments per group
363 | 8096 inodes per group
364 | Superblock backups stored on blocks:
365 |         32768, 98304, 163840, 229376, 294912, 819200, 884736, 1605632
366 |
367 | Allocating group tables: done
368 | Writing inode tables: done
369 | Creating journal (32768 blocks): done
370 | Writing superblocks and filesystem accounting information: done
371 |
372 | Filesystem      Size  Used Avail Use% Mounted on
373 | /dev/sda2       7.2G   17M  6.8G   1% /tmp/pi.sd.324943213
374 | Filesystem      Size  Used Avail Use% Mounted on
375 | /dev/sda1        60M     0   60M   0% /tmp/pi.sd.324943213/boot
376 |
377 | Press ENTER To begin image restore
378 |
379 | (lots and lots of files listed here ...)
380 |
381 | boot/fixup_cd.dat
382 | boot/fixup_x.dat
383 | boot/kernel.img
384 | boot/start.elf
385 | boot/start_cd.elf
386 | boot/start_x.elf
387 | boot/issue.txt
388 | boot/LICENSE.oracle
389 | boot/kernel_emergency.img
390 | tar: boot: implausibly old time stamp 1970-01-01 00:00:00
391 |
392 |
393 | =DONE=
394 | The SD is mounted at: /tmp/pi.sd.324943213
395 | Now would be a good time to make modifications in another shell session...
396 | Press ENTER To unmount or CTRL-c to exit leaving mounted.
397 |
|
398 |
399 | Now here, the script is paused waiting for input, and you have a choice. If you wish to make changes to the SD card you can open another terminal and modify it under the mountpoint shown (/tmp/pi.sd.324943213 in this example), for instance, change the hostname like we did previously:
400 |
401 |
402 | root# echo "yetanotherpi" > /tmp/pi.sd.324943213/etc/hostname
403 |
|
404 |
405 | When you are done with your modifications, you can return to the session running the script and hit enter. It will unmount the SD card from it's temporary mountpoint. Make sure you have closed any programs or shells that might be holding the filesystems open. You can always try unmounting again with the "umount" command if necessary.
406 |
407 | After it is unmounted, you can pull and insert it into your raspberry pi and boot it up. If you want to make the script non-interactive, feel free to remove or comment out the "read" lines that ask for confirmation. But do so at your own risk!
408 |
409 | I hope you found this little tutorial helpful. Using these utilities and scripts you can build your own library of standard OS images, preconfigured for particular applications. This makes duplicating projects very easy and quick! If you have feedback on the tutorial or any of the scripts please let me know at matthoskins @ gmail.com or on twitter @sysmatt.
410 |
411 |
About the author
412 | Matthew is the Senior Enterprise Architect at the New Jersey Institute of Technology (NJIT). When he is not working, he enjoys hacking on electronics, microcontrollers and embedded systems. He can also make a mean falafel when the circumstances call for it. Matthew is a total nerd and thus completely useless in conversations regarding "sports". Matthew also greatly dislikes talking about himself in the third person in author biographies. For more random nonsense from Matthew he suggests following him on twitter: @sysmatt
413 |
414 | Like this article? See more of Matt's published works
415 |
416 |
Resources:
417 |
418 | GitHub: https://github.com/sysmatt-industries/sysmatt-rpi-tools/
419 | Good article about the Raspberry Pi's bootstrap process: http://thekandyancode.wordpress.com/2013/09/21/how-the-raspberry-pi-boots-up/
420 |
421 |
422 |
423 |
427 |
430 |
431 |
432 |
433 |
434 |
435 |
436 |
437 |
438 |
439 |
440 |
441 |
442 |
443 |
444 |
445 |
--------------------------------------------------------------------------------
